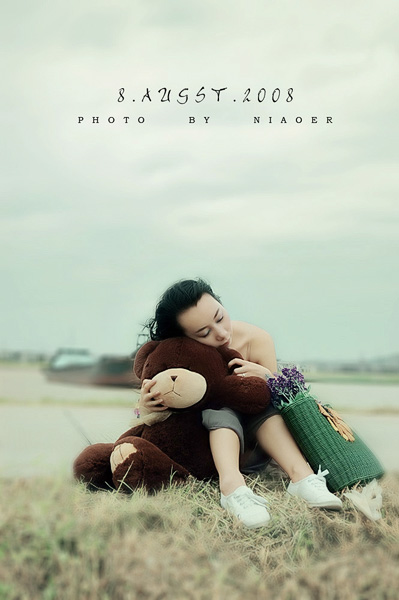
原圖

效果圖
[page]
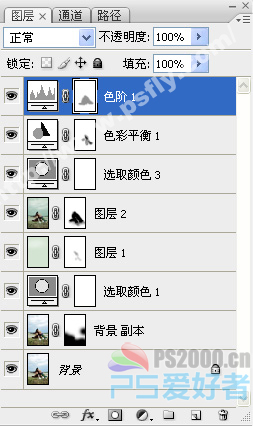
教程步驟圖層
1、首先使用“仿製圖章工具”對皮膚進行處理。

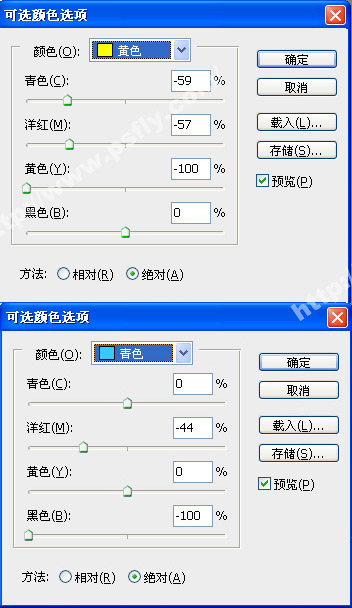
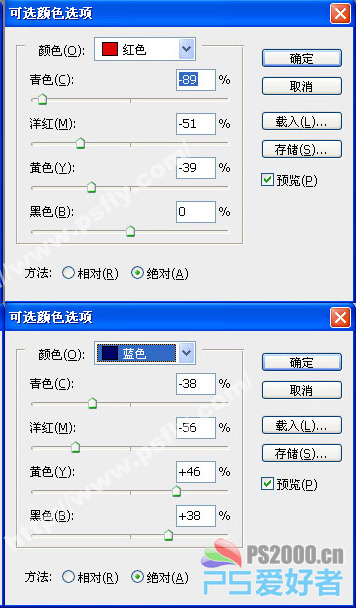
2、選擇“圖像—調整—可選顏色”命令調整圖片的色調。
[page]
3、由於整張圖版的顏色看起來偏暖綠色,所以我們要先建立個顏色層用於遮蓋其偏色,如圖所示。

4、按下Ctrl+Shift+Alt+E蓋印圖層,接著設置高斯模糊效果,添加一個圖層蒙板並在蒙板中使用“黑色畫筆工具”擦出人物。

[page]
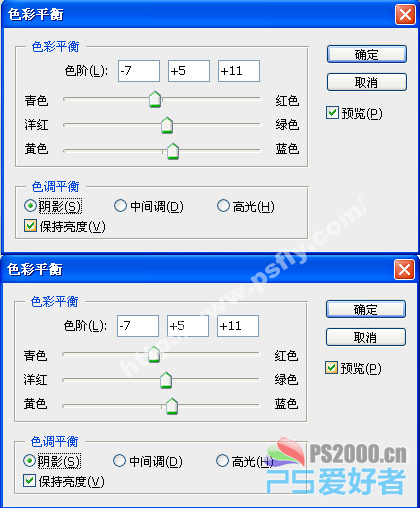
5、選擇“圖像—調整—色彩平衡”調整整體的色調。
6、最後對色階進行調整,輕輕調整一下就好。
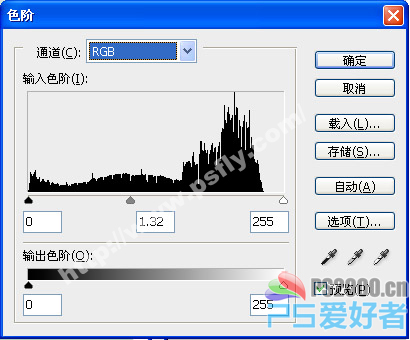
最終效果如圖所示。