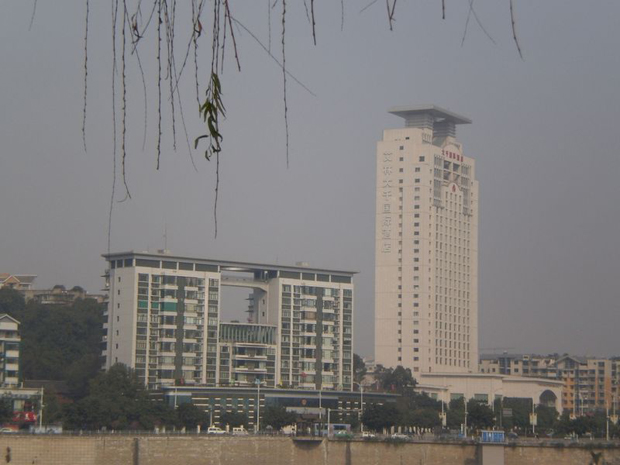
原圖
效果圖

[page]
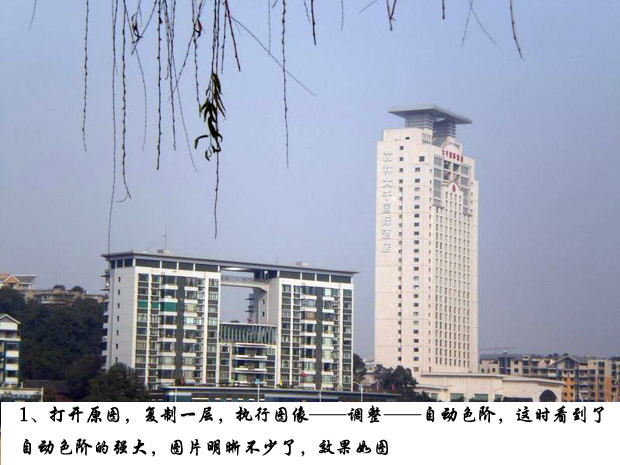
1、打開原圖,複製一層,執行圖像——調整——自動色階,這時看到了自動色階的強大,圖片明晰不少了,效果如圖
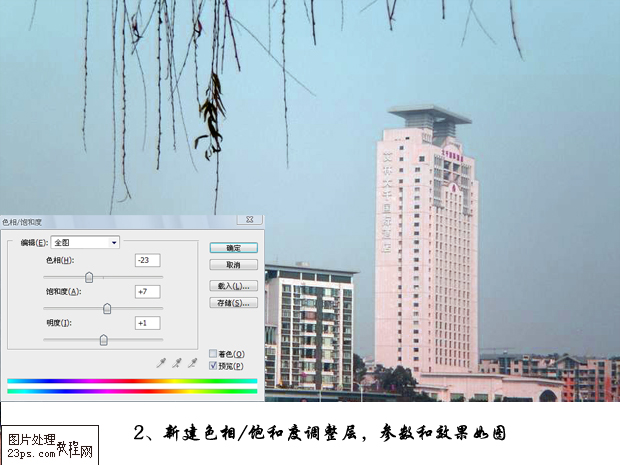
2、執行圖層<新建調整圖層<色相/飽和度調整層,參數和效果如圖
3、執行圖層<新建調整圖層<色彩平衡調整層,參數和效果如圖

[page_break
4、執行圖層<新建調整圖層<可選顏色調整層,參數和效果如圖

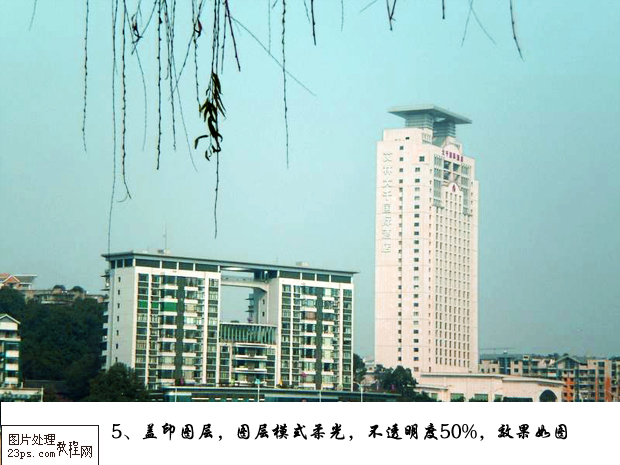
5、蓋印圖層,圖層模式柔光,不透明度50%,效果如圖
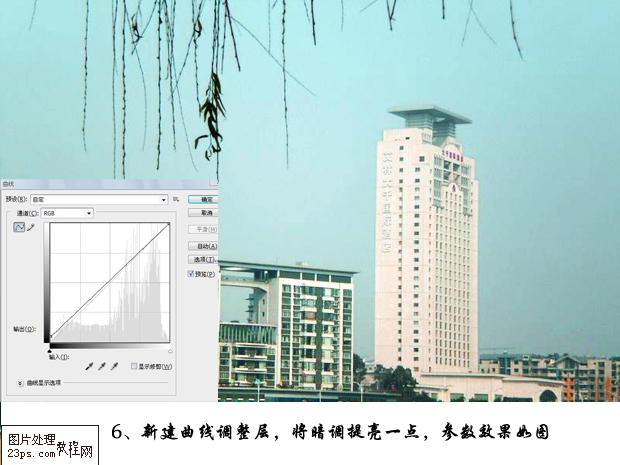
6、執行圖層<新建調整圖層<曲線調整層,將暗調提亮一點,參數效果如圖
[page]
7、蓋印圖層,適當銳化,用筆刷加上白雲,完成最終效果

8、加個邊框,效果如圖